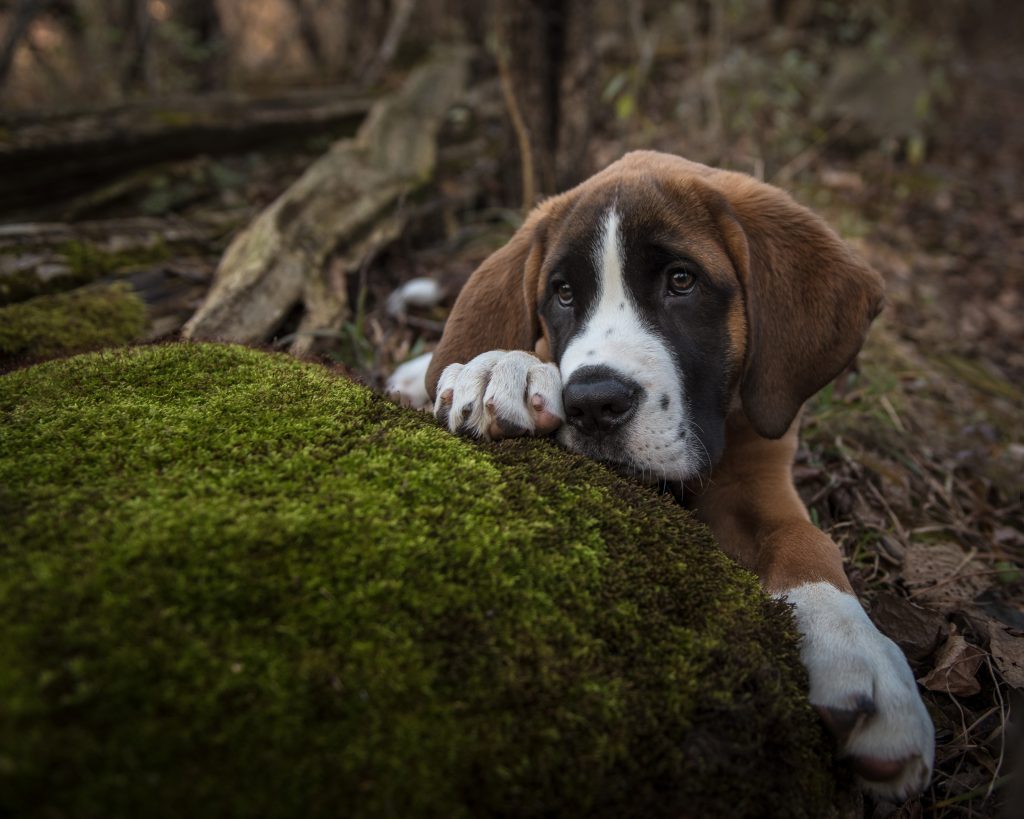
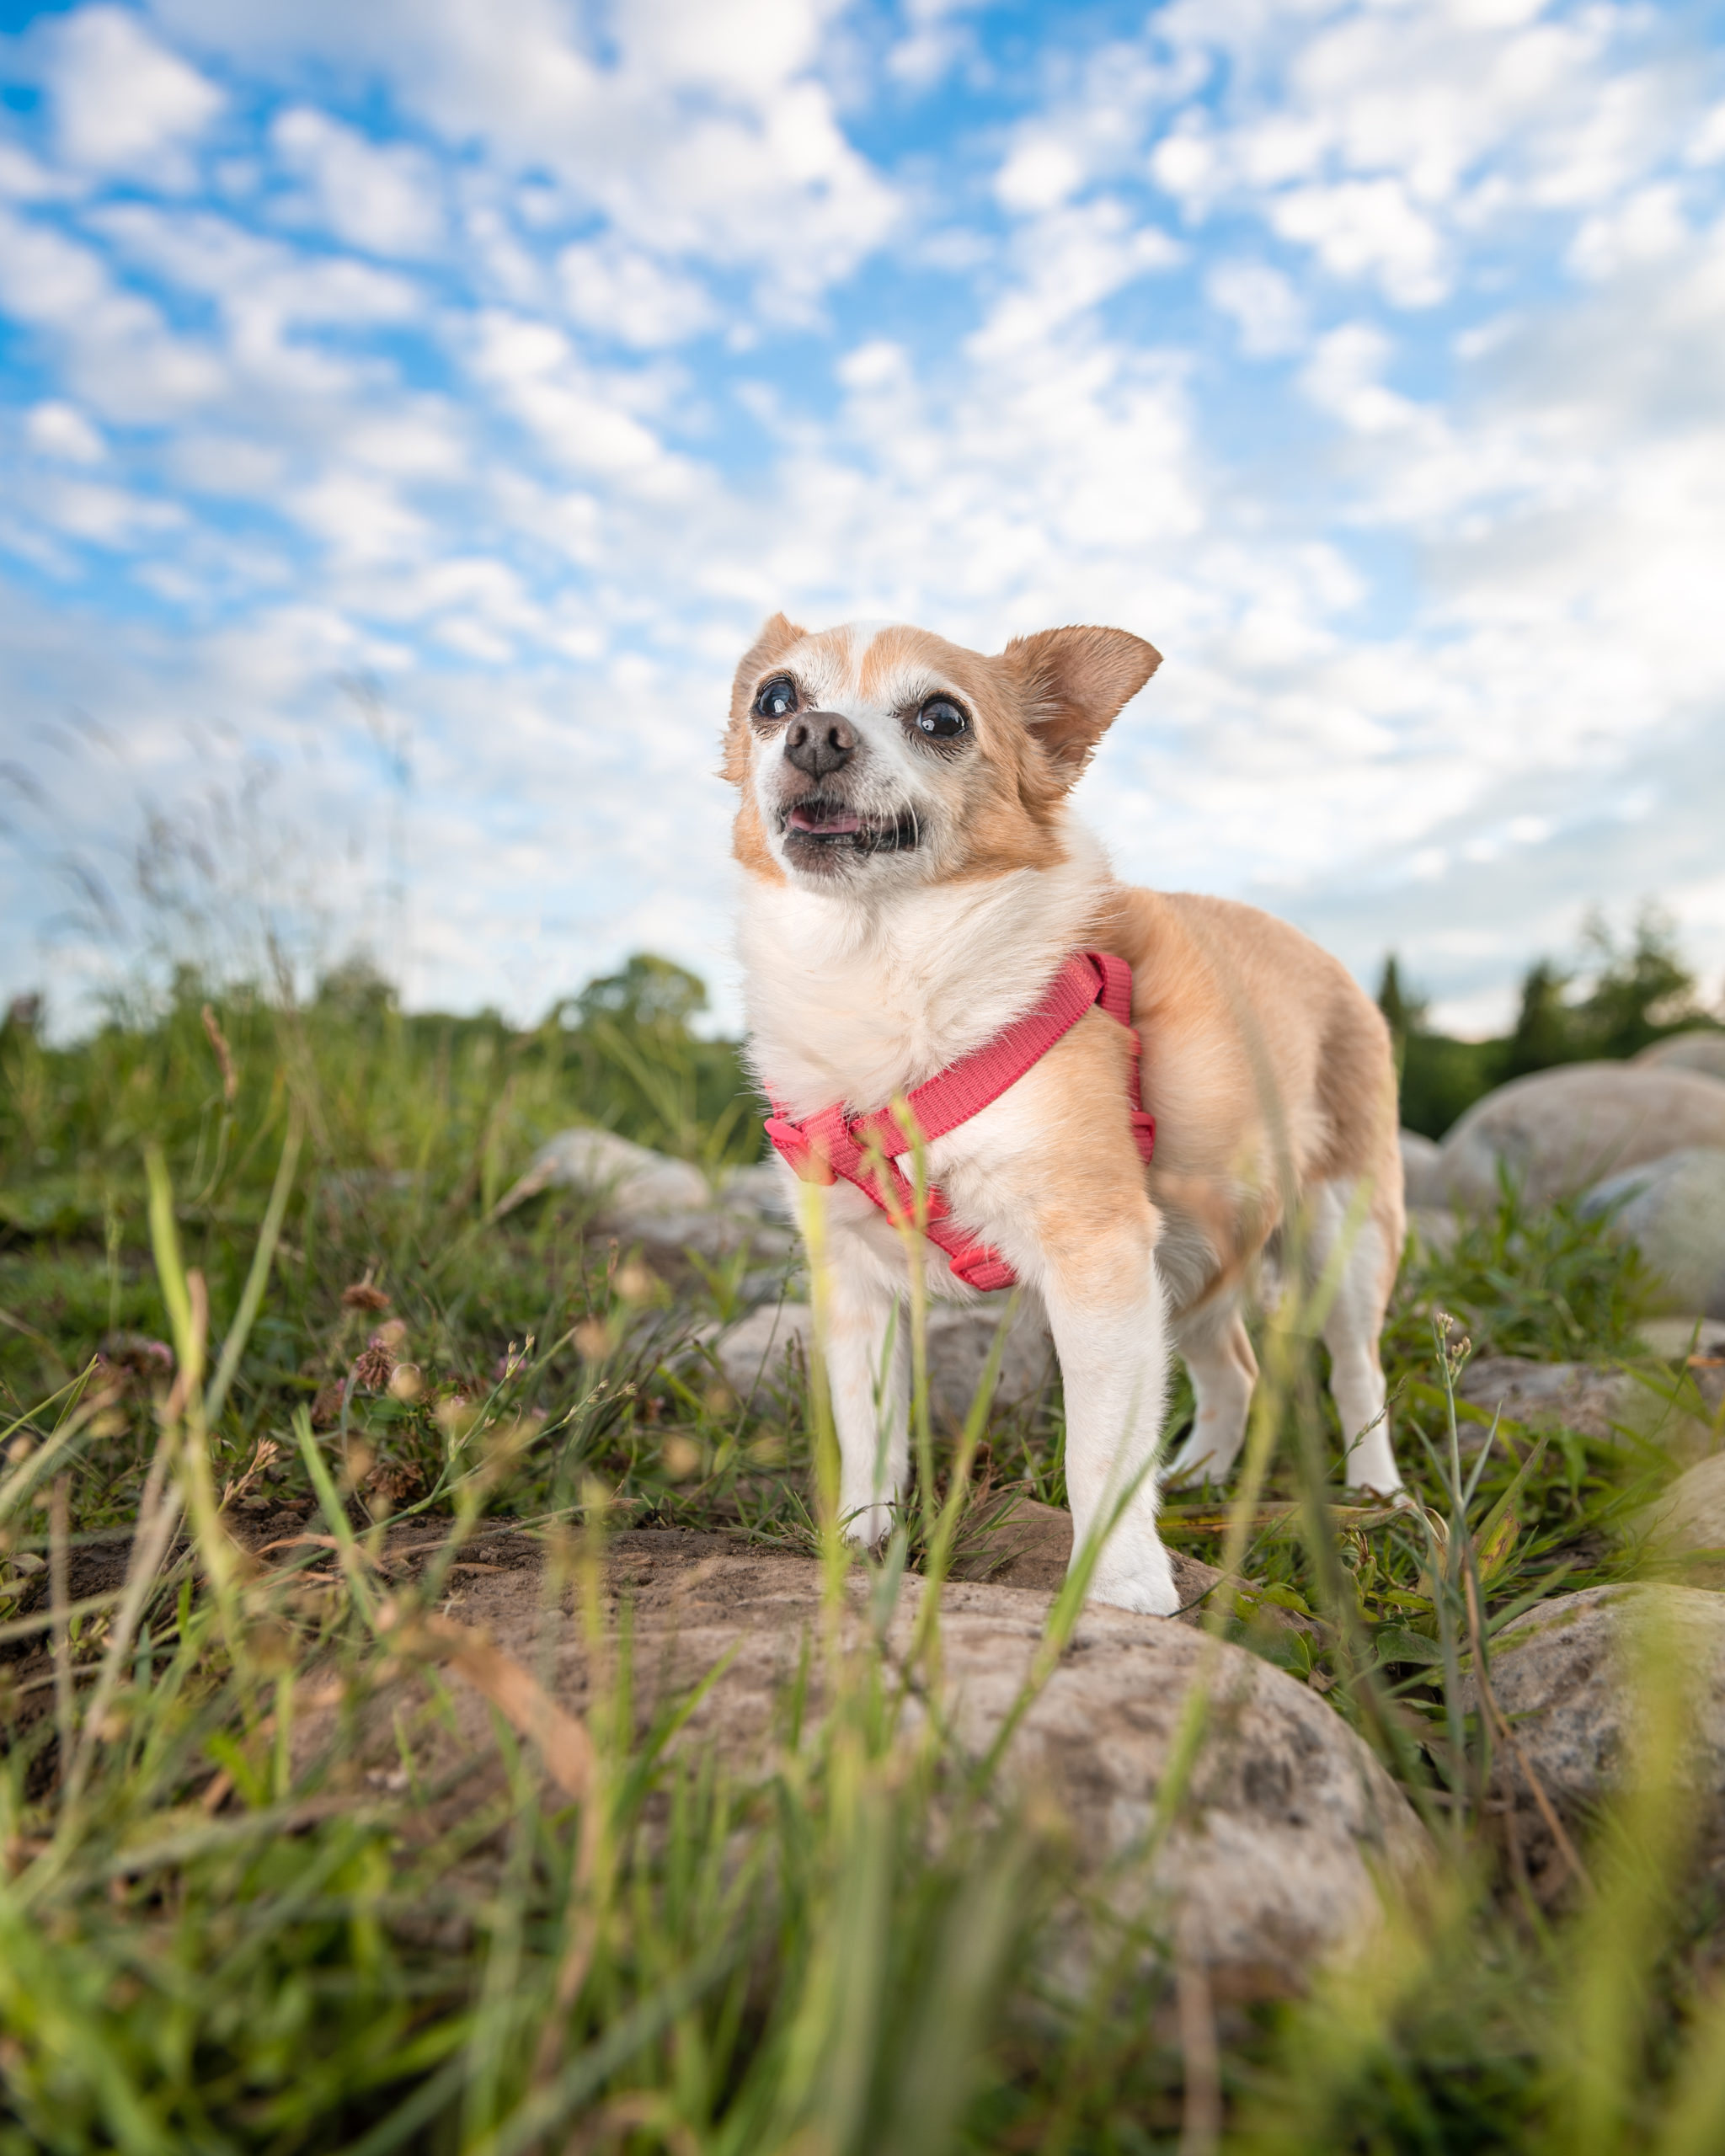
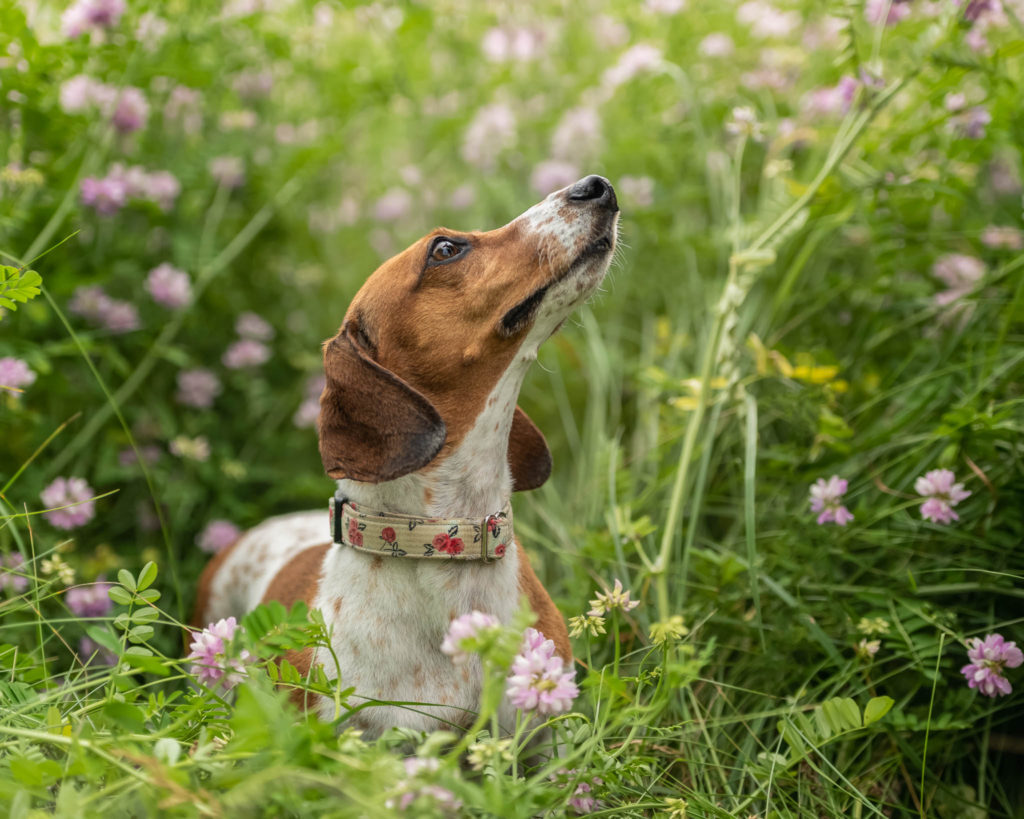
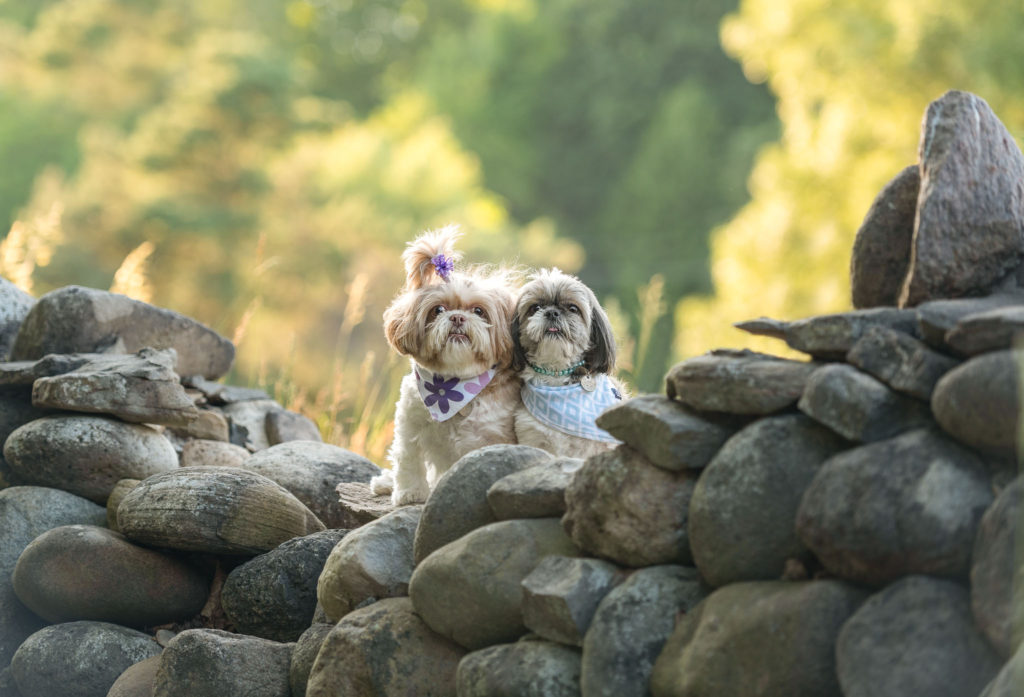
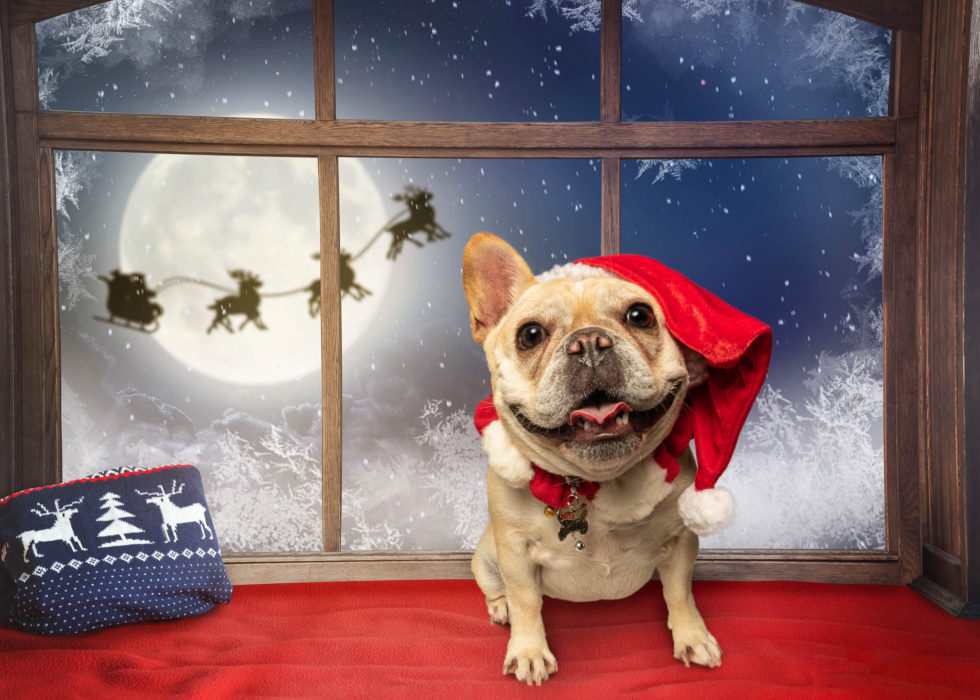
Puppies and nature – they’re meant to be together!
Hope you all enjoyed part one on how to take better pet photos while you’re stuck at home! In this post, we’ll dig a little bit deeper into how to improve the pet photos that you take outdoors in your backyard and on walks.
Don’t worry if you don’t have any fancy equipment, or anywhere breathtaking to go – the following shots were taken on my phone and most were in my backyard.
LOCATION, LOCATION, LOCATION
Finding the right outdoor spot for pet photos is super important (especially these days, when you also want to make sure there are no other people there!)
Don’t overlook places like your deck or your yard – there are probably tons of nice spots when you learn to see them in a new way.
LOCATION TIP 1: FIND A REPEATING PATTERN
Keep your pet the focus of the shot – fences and shrubs make really great options for simple backgrounds.
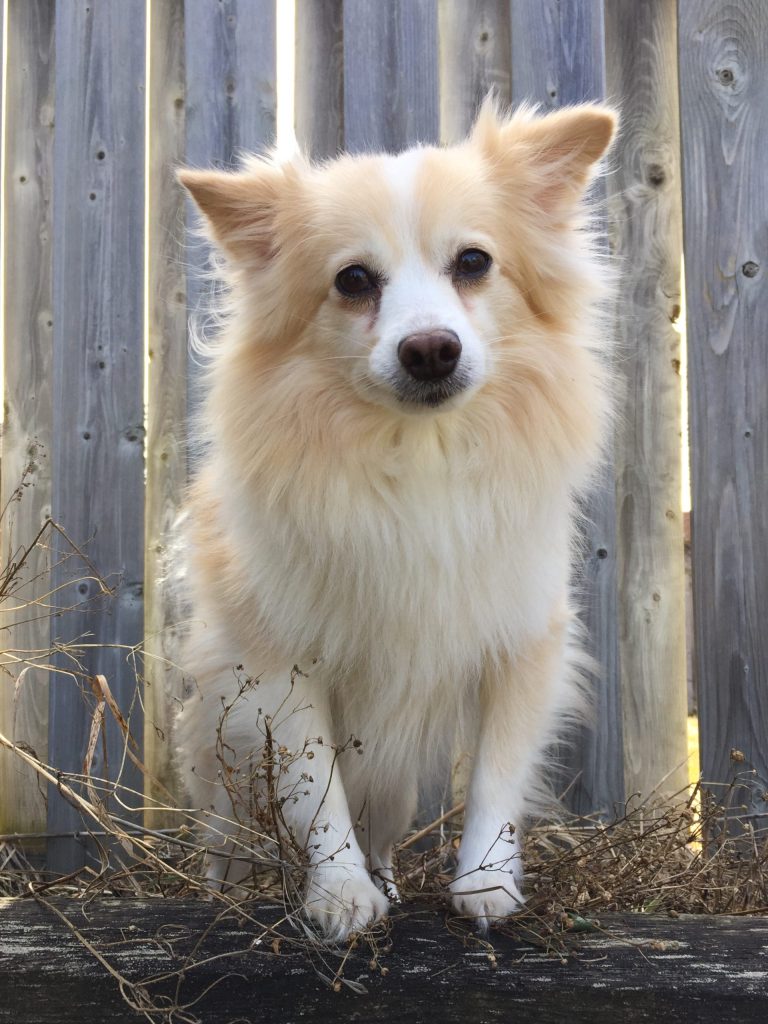
The simple fence keeps Brie as the main focus, and the out-of-control-never-picked weeds from my garden in front give a little bit of depth to the image.
LOCATION TIP 2: WATCH YOUR HORIZON LINE
Make sure that you’re keeping the line of the horizon either above or below the pet’s head – you don’t want to cut right through.
It’s jarring to our eyes when the line of the horizon runs right through the pet’s head.
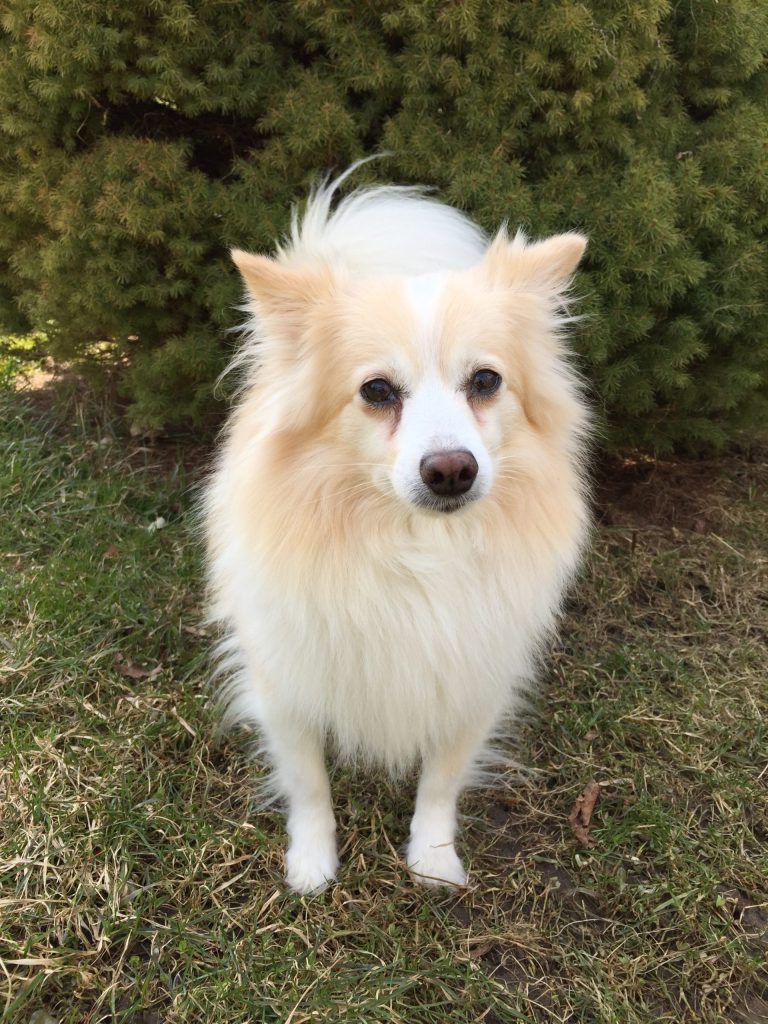
To fix it, all we need to do is just raise or lower our angle of view.
LOCATION TIP 3: REMOVE THE DISTRACTIONS
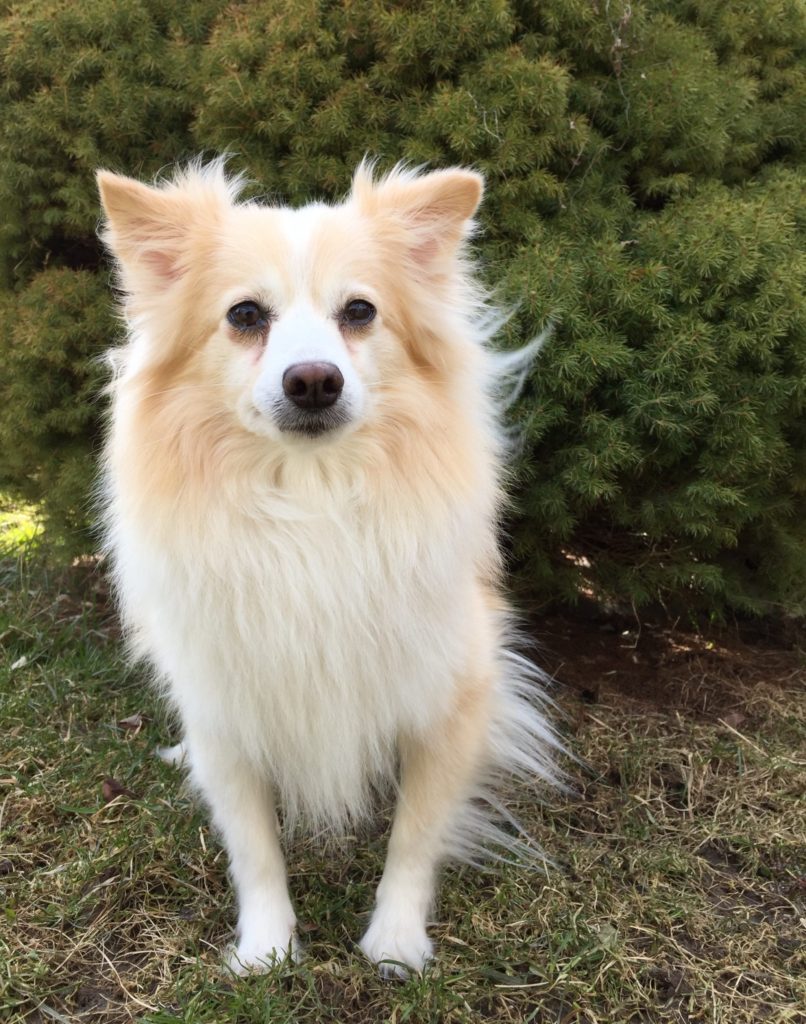
Sure, nature is beautiful, but it’s also full of stuff that distracts from our gorgeous pets. To take the best photos you can outside, keep your eyes open for things that will either add to or take away from the image you’re trying to create.
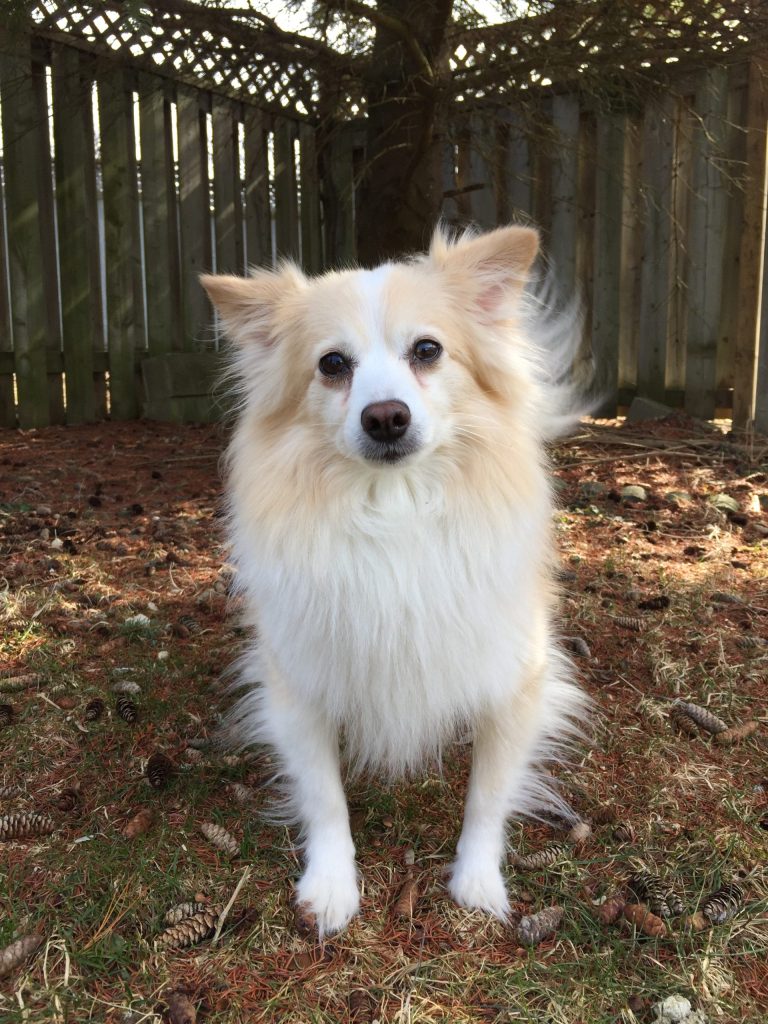
Brie is cute, but she’s got a tree growing out of her head. Take a look around before you take your picture to make sure that there aren’t any major elements that cross the dog’s head or come out of it.
IT’S ALL IN THE LIGHTING
The number one thing that makes or breaks an outdoor shot is that big ball of fire in the sky. The sun, and its relative location to the subject makes a HUGE difference in how your image will turn out.
I won’t get too technical, but basically, the further your light source is from your subject, the harsher the light is. Since the sun is, like, 93 million miles away the light that it casts (especially at midday) will give you really hard shadows and really bright highlights. This is not what you want. If you want better photos of your pet outside, you’ve got to learn to master the sun.
LIGHTING TIP 1: NO MIDDAY SUN
Here’s Brie at midday in full sun. You can see how her shadow is really hard-edged . Also, she’s got some really dark shadows falling on her face. Since the sun is right in front of her, she’s also pretty squinty.
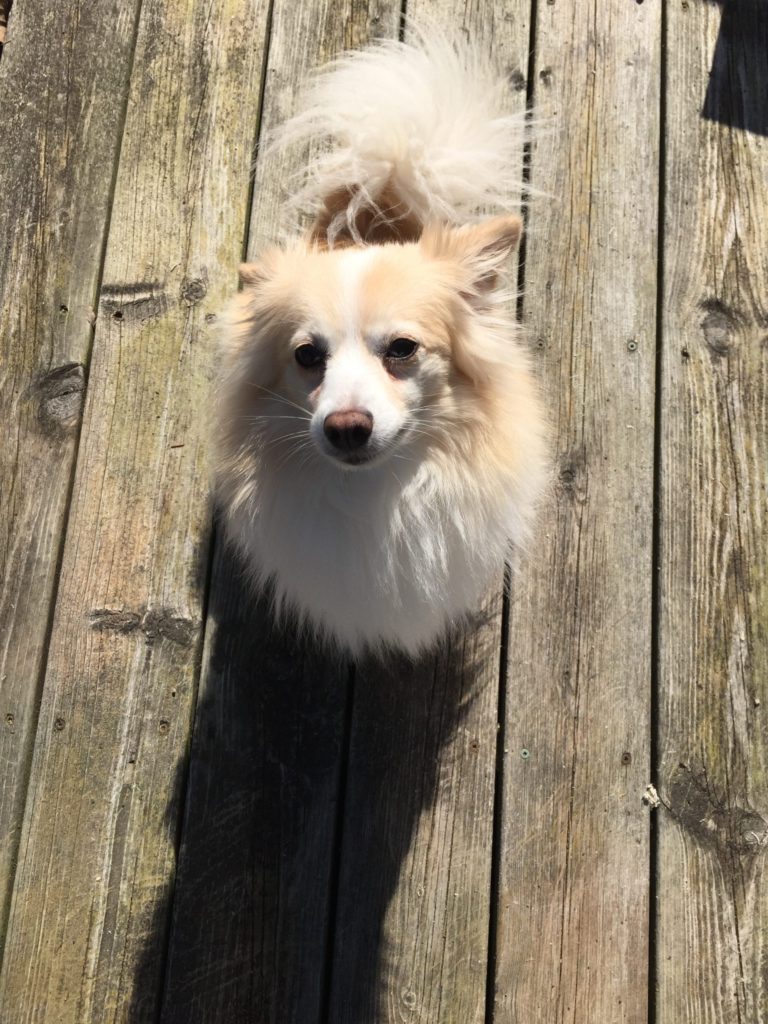
This is the same shot, with me trying to block the direct light with my own shadow. I have made things worse 😉
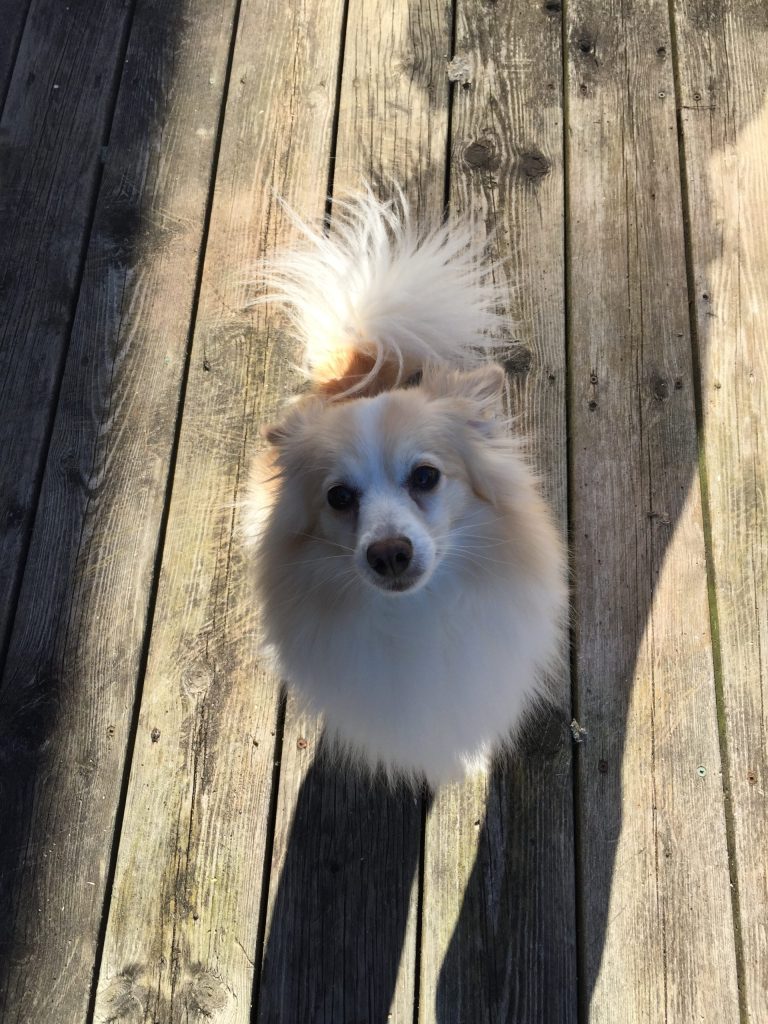
TO FIX IT, JUST FIND THE SHADE!
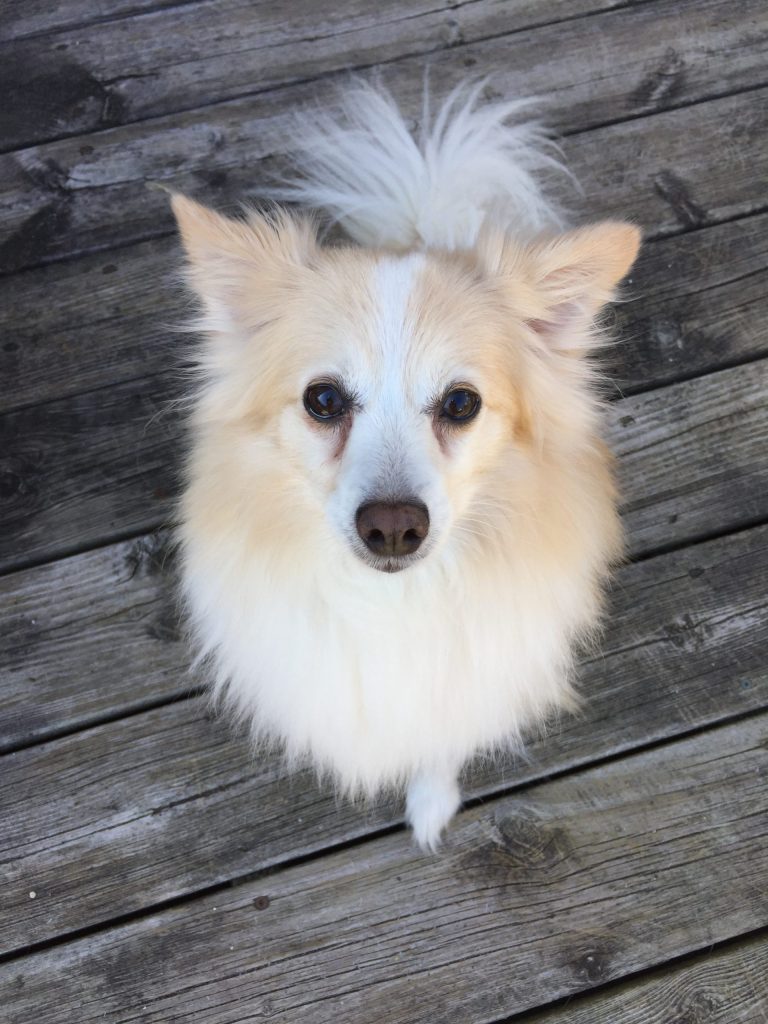
Same shot again, but now Brie is in the shade with her eyes out towards an open sky (not facing the sunlight). See how the colour temperature changes, and the shadows around the dog become really soft.
You don’t only have to shoot in the shade though, you could wait until…
LIGHTING TIP 2: GOLDEN HOUR!
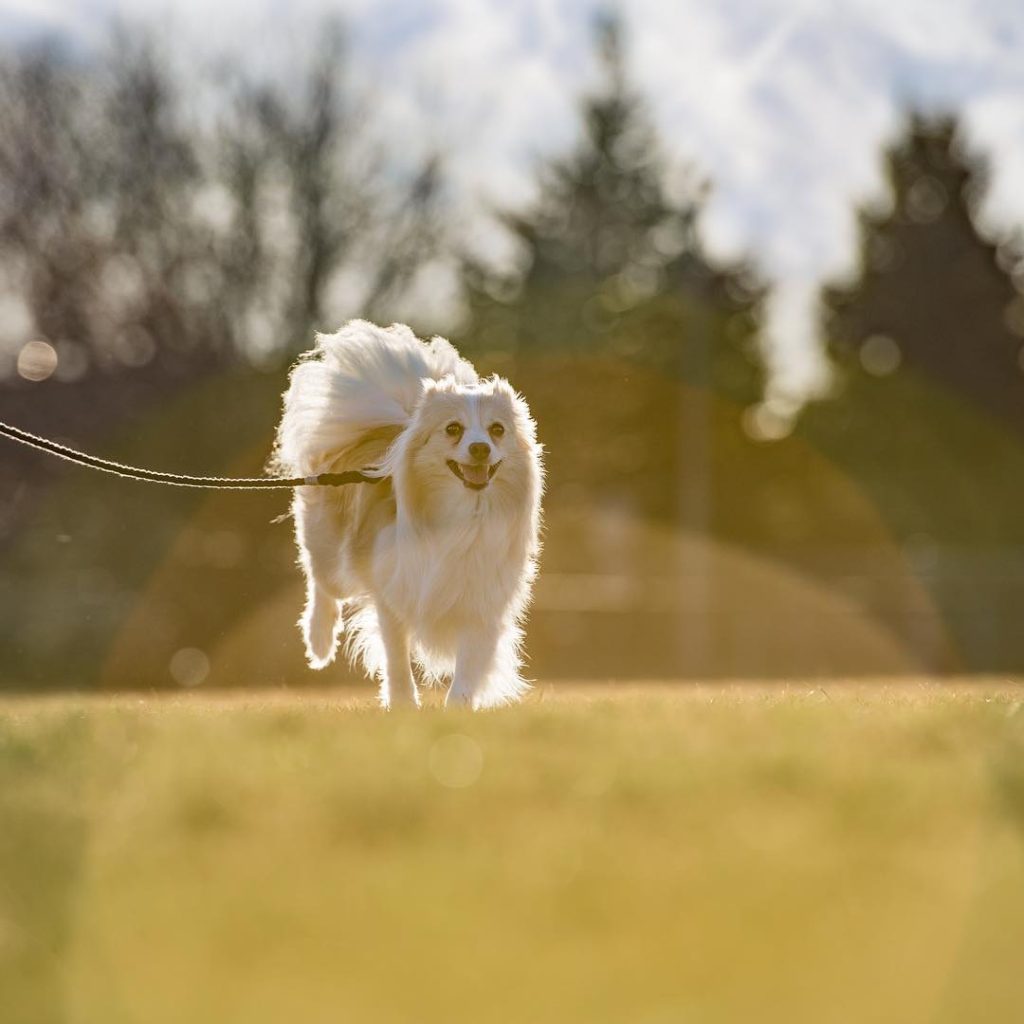
The hour right after sunrise or right before sunset is prime time for photographers. Why? Because the light is magical, and you can shoot in almost any direction your heart desires.
Here’s Brie with her back to the setting sun, giving the edges of her fur a glow. I’ve also faced her into open sky to get the specks of light in her eyes. You can also face your pet into the light as the sun is low and the light will be soft and diffused.
Hope you liked these tips for your outdoor photos! Stay tuned for the last installation in this series – better pet photos without even leaving your couch (or at least your living room)!
Walking our pets (in remote areas) or playing with them in our yards is a great way to pass the time during isolation – let’s see what you can come up with outside!

