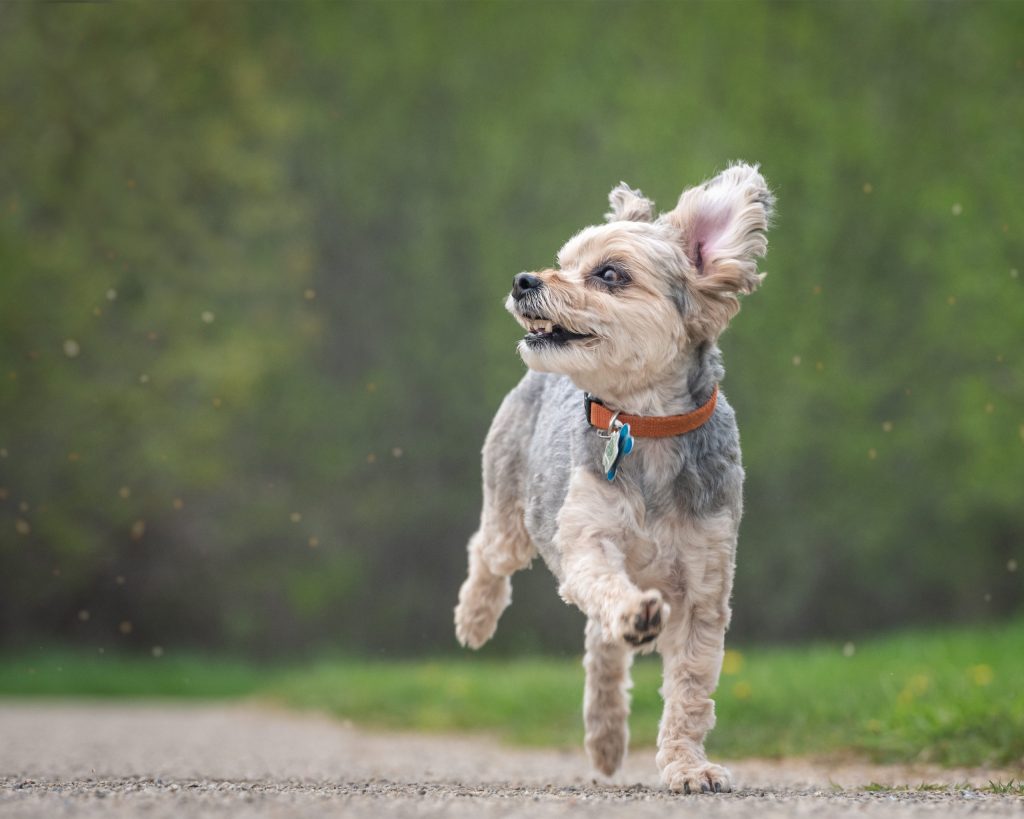
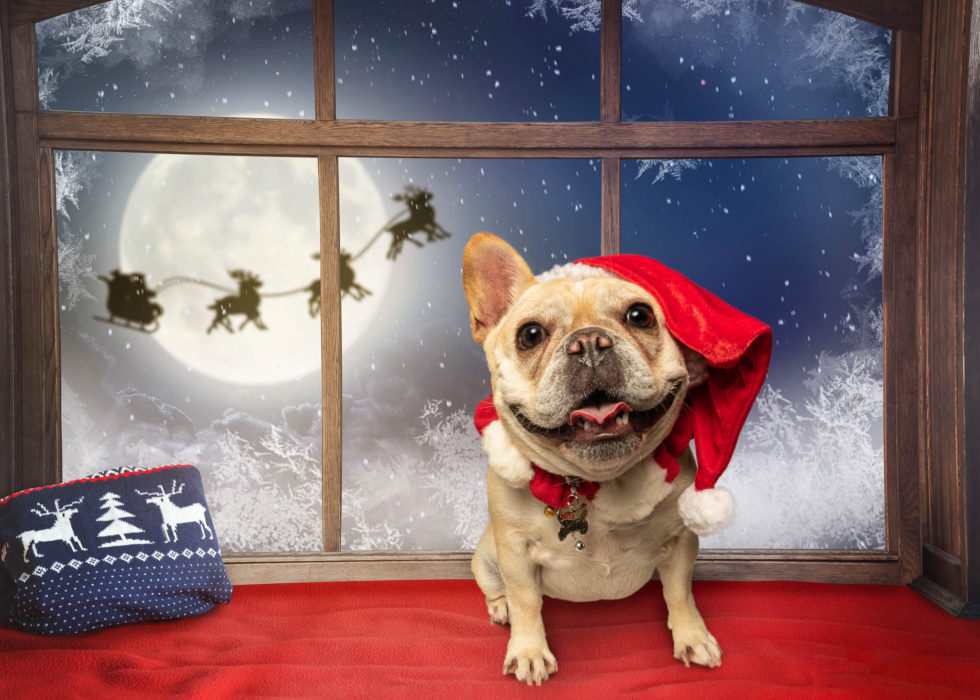
Bronx didn’t need any help looking like a top model!
If you’re like me, COVID-19 likely has you socially distancing this month. This means you’re pretty much cooped up at home with nothing to for most of the day. Sure, you can play with your dogs, tell your cats how great they are, or vacuum up all the fur on your stuff – but why not do something even better?
SHOW THE WORLD PICTURES OF YOUR LITTLE MONSTERS!
There’s a lot to taking awesome pet photos, but, heck, you’ve got nothing but time, right? 🙂 Here’s the good news, pets are awesome subjects and all of them are naturally gorgeous – so it’ll be easy to get some great images! In this three part series, I’ll share some wisdom that I’ve learned as a pet photographer. This post will give you the basics, and posts two and three will deal with indoors and outdoors specifically.
Let’s make your pet photos even better!
To start out, here are my top five tips to improve your pet photos at home and outdoors You can apply these tips to any pet, furry or scaly, feathered or hairless
PHOTO TIP 1: GET ON THEIR LEVEL
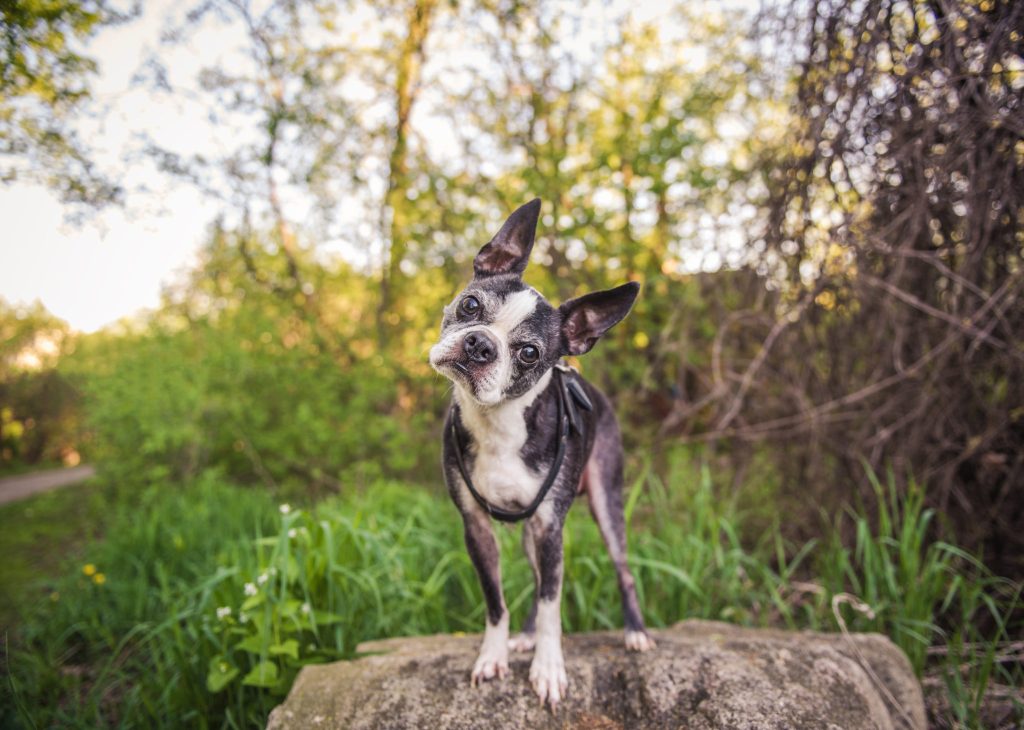
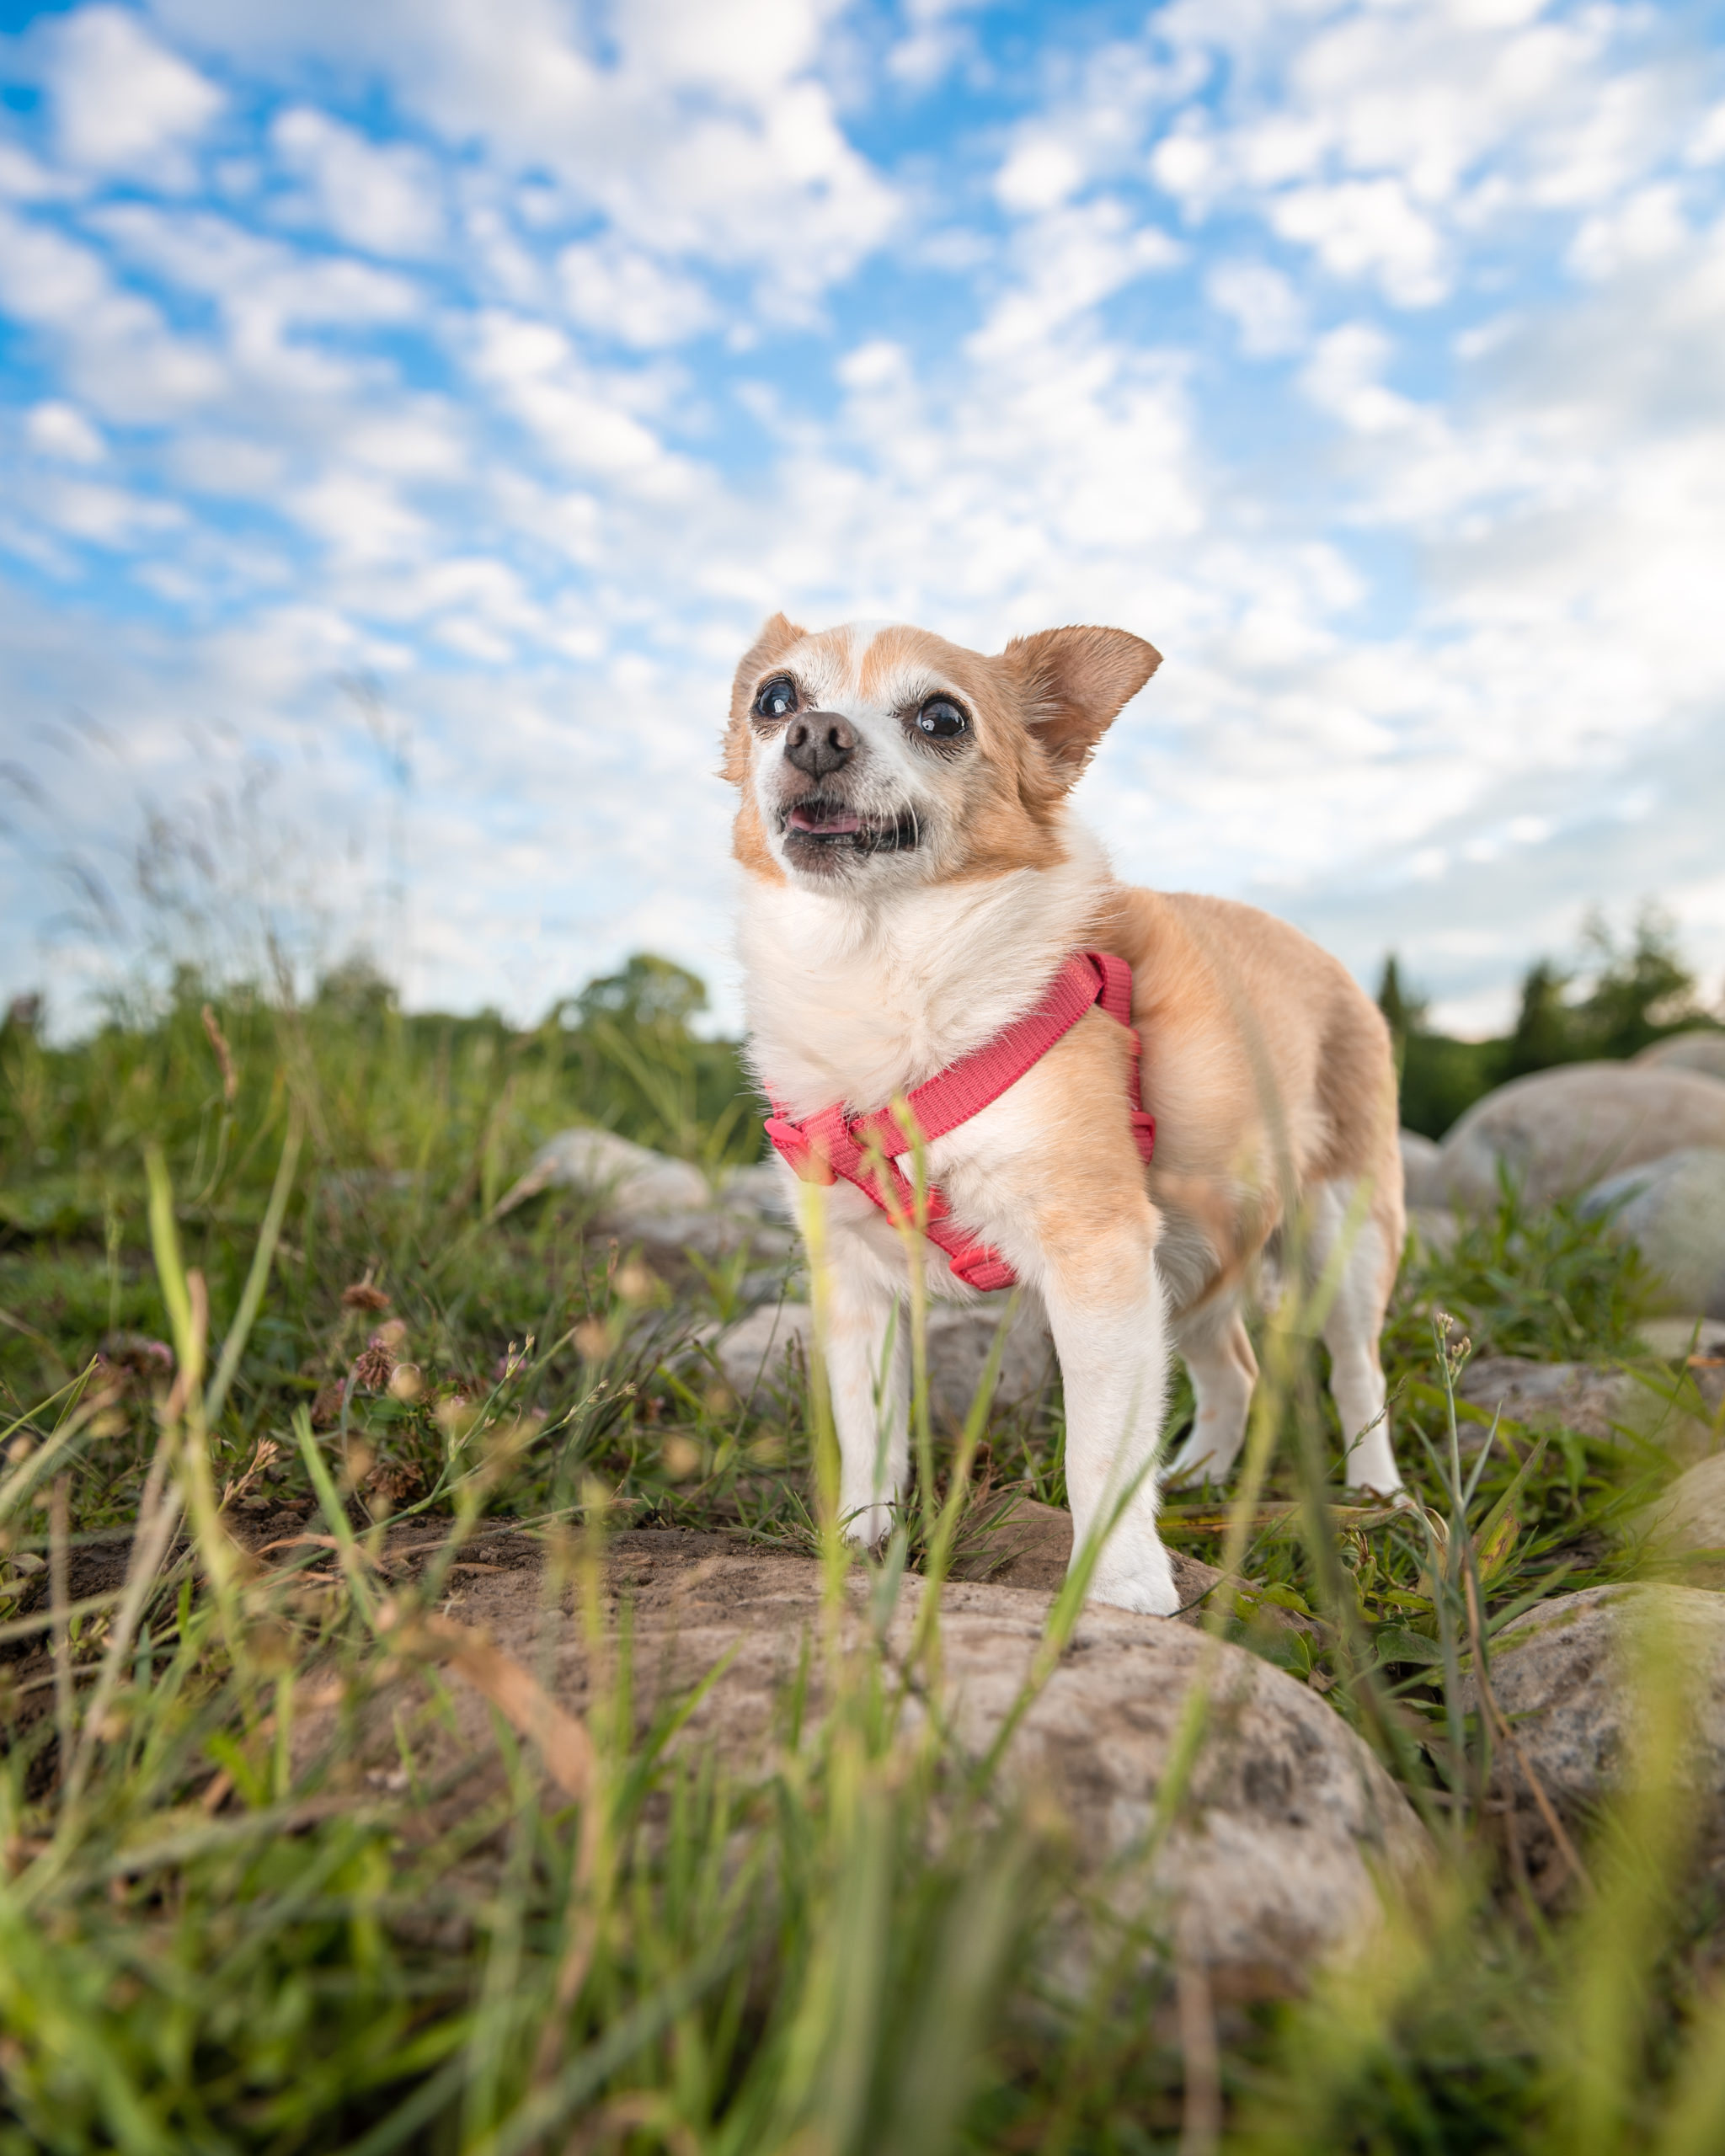
Of all the quick ways to make your pet photos look better, this one is probably the simplest and most effective. As my dude Flo Rida says, get low. Get down to the pet’s eye level, and even lower is even better (especially with action shots). Why does this make a difference? We’re really used to seeing our pets from above, so seeing them at their eye level is automatically more captivating.
PHOTO TIP 2: FOCUS ON THEIR EYES
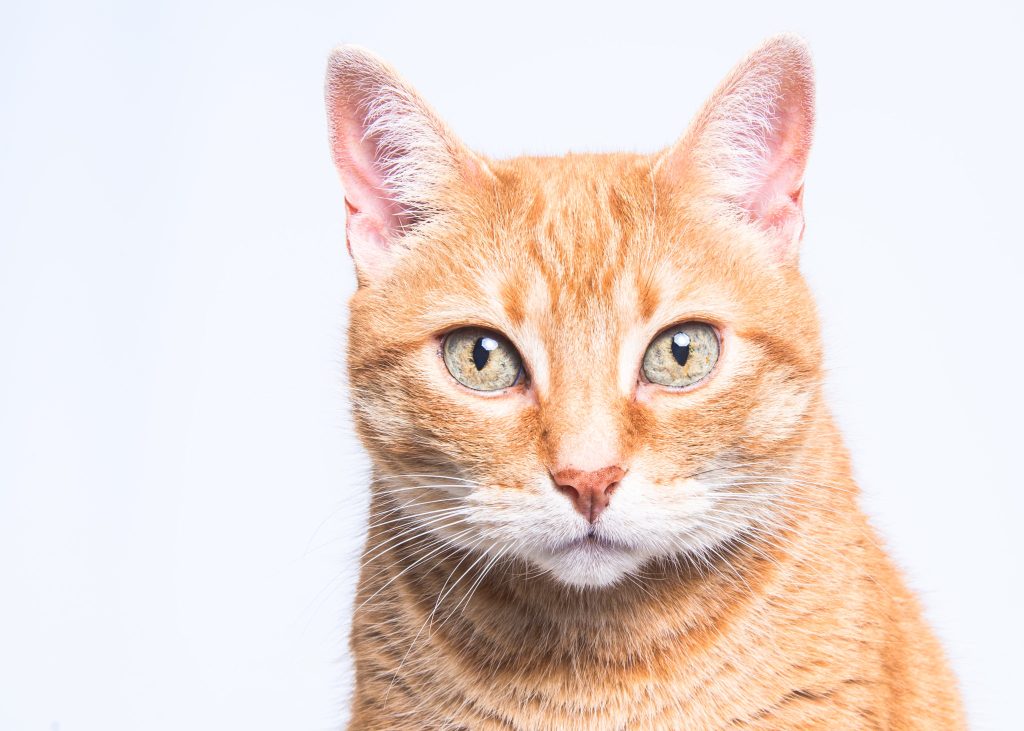
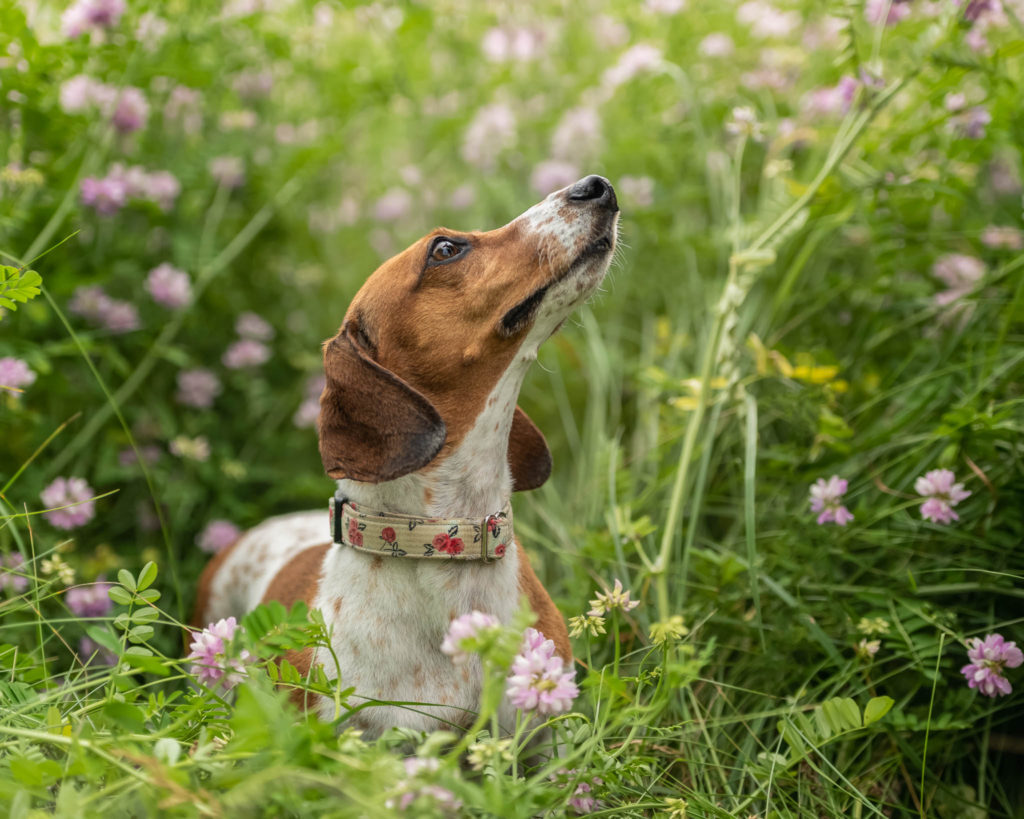
Lucky’s eyes are the kind you could just get lost in.
You don’t need a fancy camera, most phone these days have excellent focus capabilities, so use your focus points when you’re photographing your pets. On my iPhone, I just tap the screen where I want to focus and it does the work for me. Also, balancing your elbows on the ground or on your knees really helps with camera shake.
Most of the time, the eyes are going to be where you want the most attention, but you can also use this tip for detail shots, like focusing on snouts, toes or whiskers. Having a clear point of focus will definitely improve your pet photos and will let your friends see how gorgeous your fur-buds are!
PHOTO TIP 3: FIND YOUR LIGHT
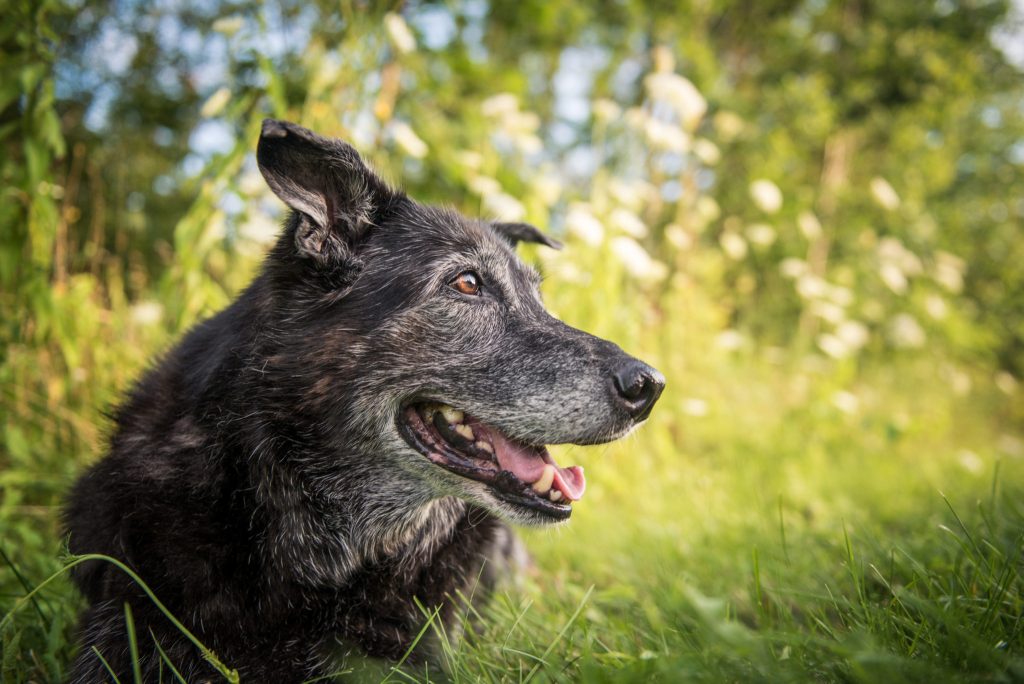
Any photographer will tell you that there are three main factors involved in a beautiful portrait – the subject, the artist and the light. You can have a gorgeous landscape, a beautiful model but if the light isn’t right, you ain’t got nothing. We’ll dig a lot deeper into lighting in parts two and three. The main thing to keep in mind for pet photos that you’re taking on your phone is that soft and diffused light is your friend. Avoid the backyard in full sun, and opt for a window or a shady spot.
PHOTO TIP 4: PAY ATTENTION TO YOUR BACKGROUND
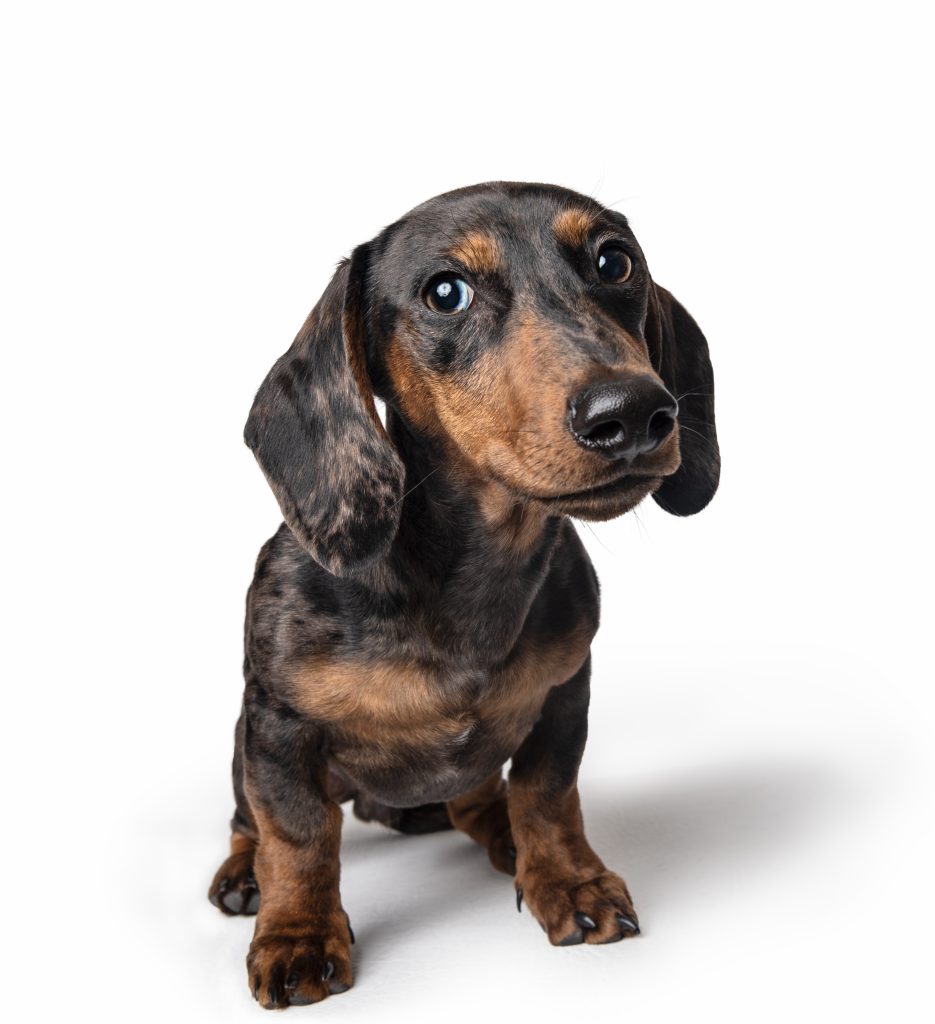
A clean, neutral background lets Finn be the star of the show!
(I captured this with Finn up on a box covered with a piece of white vinyl, with a studio light to his front left)
No photography studio needed! You can totally clean up your background with no equipment at all! When you’re photographing your pets, take a look around and clean up any distracting elements. Again, we’ll talk more about this in the next two parts. to start, try to find neutral walls or natural elements. They make for pretty backdrops that don’t take the attention away from your furry model!
PHOTO TIP 5: GET YOUR PET’S ATTENTION
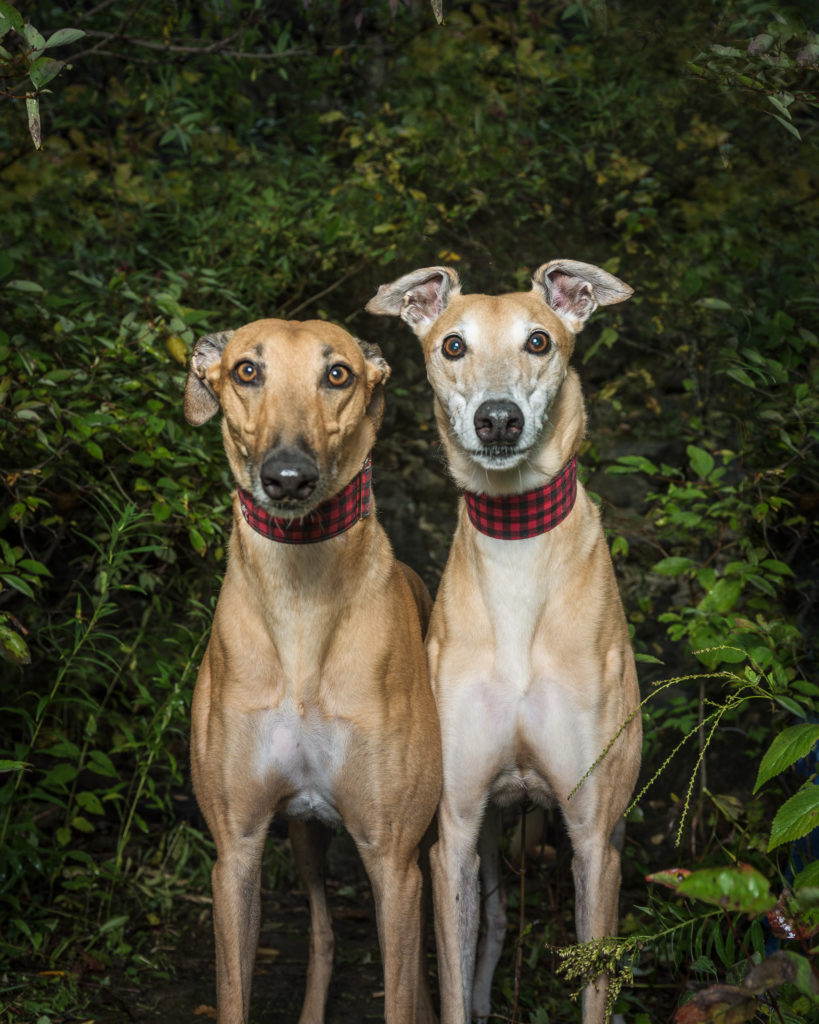
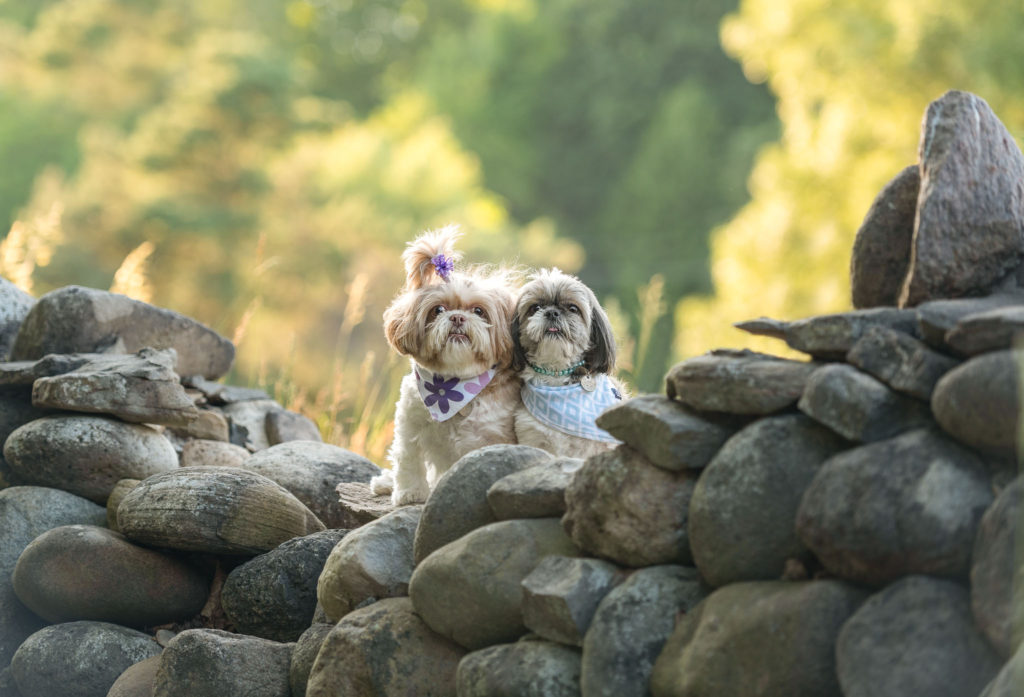
Moses and Polly were VERY focused.
Easier said than done, right? So many of our pets run and hide when we bust out the phone or camera. It’s all in the timing, and in having the right bribe. Every pet has something that they love – praise, snuggles, treats, toys. I like to think there are two steps in catching a cute expression.
To initially get their attention, find that thing that your pet loves and show it to them. have them sit or stay if they can – if they are a cat, just show them and be ready 🙂 If your pet loves treats, don’t go overboard. Break them up really small and use them as a reward once the photo is taken.
Then, right before you click the shutter, make a silly noise. This will usually get their eyes on you or even a head tilt. Remember, you don’t want to make the noise until you’re totally ready to click.
Since we’re all stuck at home, I hope that I’ve given you lots of good stuff to try. I promise, your pets will (probably) love it too! If you liked this post, please keep an eye on this page for parts 2 and 3 where we’ll get even more in depth! One more quick bonus tip – get creative! Look for unusual angles, neat settings and let your imagination run wild!
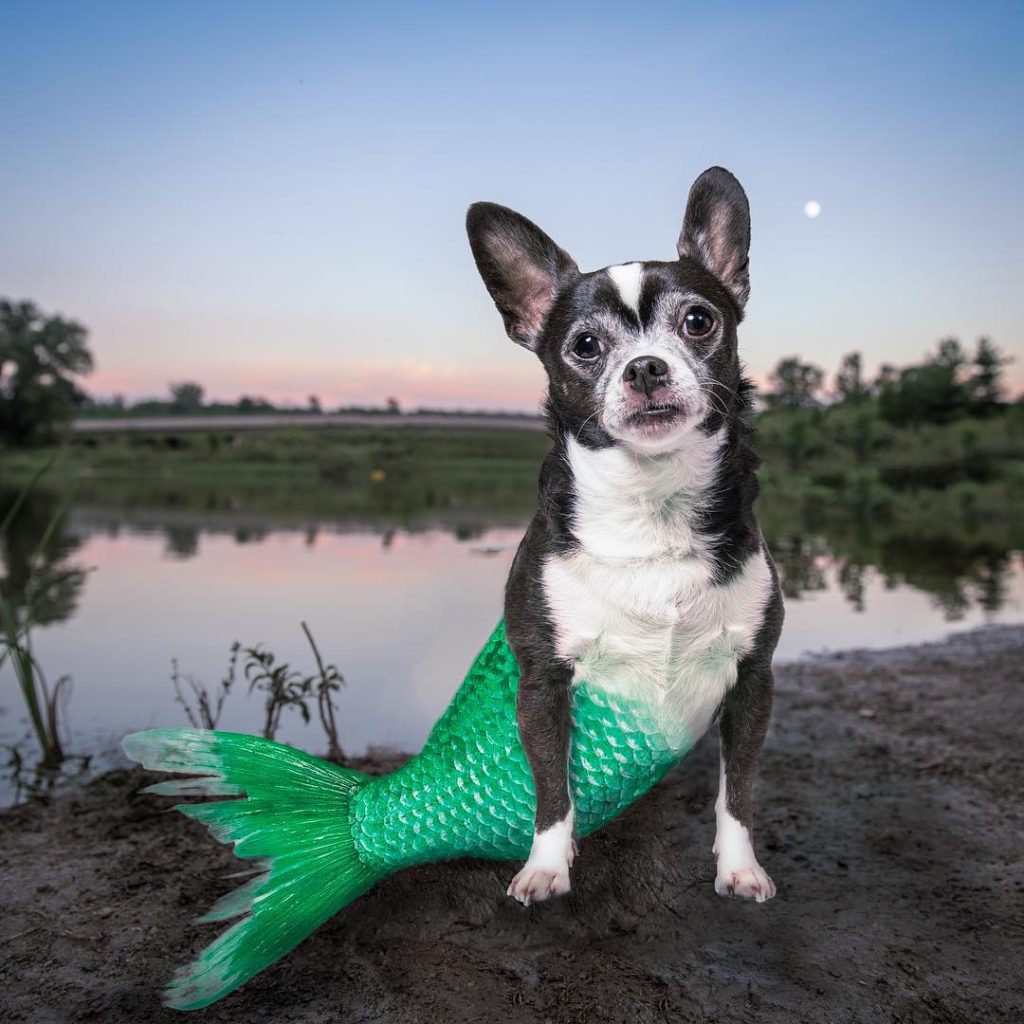
Kipper loves it when I get creative. Really.

